How to run Medusa using GitHub Codespaces
Set up a cloud-based dev box for your Medusa commerce app
Introduction
In this tutorial, you will learn how to set up a remote development environment for Medusa using GitHub Codespaces.
If you ever tried to test out Medusa on GitHub Codespace, you might have failed to load content from the Medusa backend. This is due to CORS blocking your server requests.
This tutorial provides a solution that bypasses the CORS issue.
What is Medusa?
Medusa is a composable commerce infrastructure for building ecommerce applications.
It was built using Express, a Node.js framework. It is open-source and provides modular commerce packages compatible with any Node.js project. These modular commerce packages allow developers to build all sorts of commerce applications without having to do it from scratch.
Medusa is fully customizable and extensible. You can build webshops, subscription services, digital products stores, ticketing systems, and any other ecommerce solutions.
Check out Medusa's features here.
What is GitHub Codespace
GitHub Codespace is a cloud-hosted development environment you can access online from your web browser.
GitHub uses a Docker container running on a Virtual Machine to host your development environment aka codespace. The codespace comes with common languages, tools, and utilities for most development use cases and runs in a Linux environment.
Check out GitHub Codespace's features here.
Use of GitHub Codespaces is not entirely free, as free usage is only limited to the first 60 hours of the month. If you want more you can check the pricing page for more info.
GitHub Codespaces come with all the necessary tools required to run a Medusa app namely:
Git
npm or yarn
Node
Prerequisites
NOTE:
This tutorial assumes you have some knowledge of web technologies, Linux, Git and GitHub.
To follow this tutorial, you must have the following:
GitHub Account
Web browser of your choice
ngrok account
Step 1 - Launch GitHub Codespace
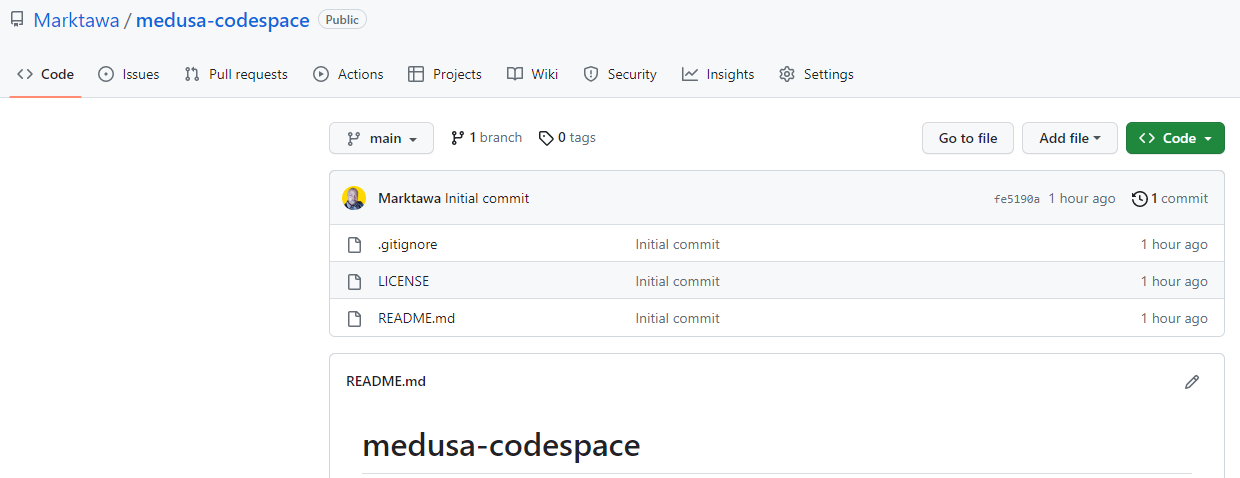
In your browser, log in to your GitHub account, create a repository, and name it medusa-codespace
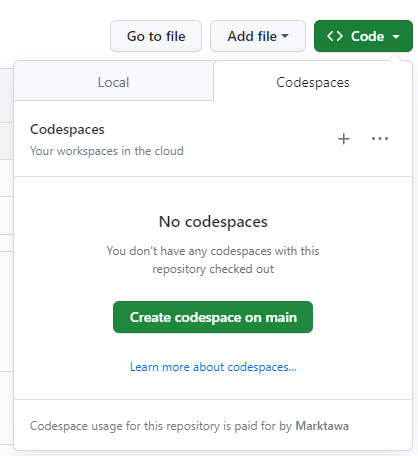
Click on the <> Code drop-down button and select the Create codespace on main button
A new tab will open automatically with VS Code interface in your browser. This is your codespace.
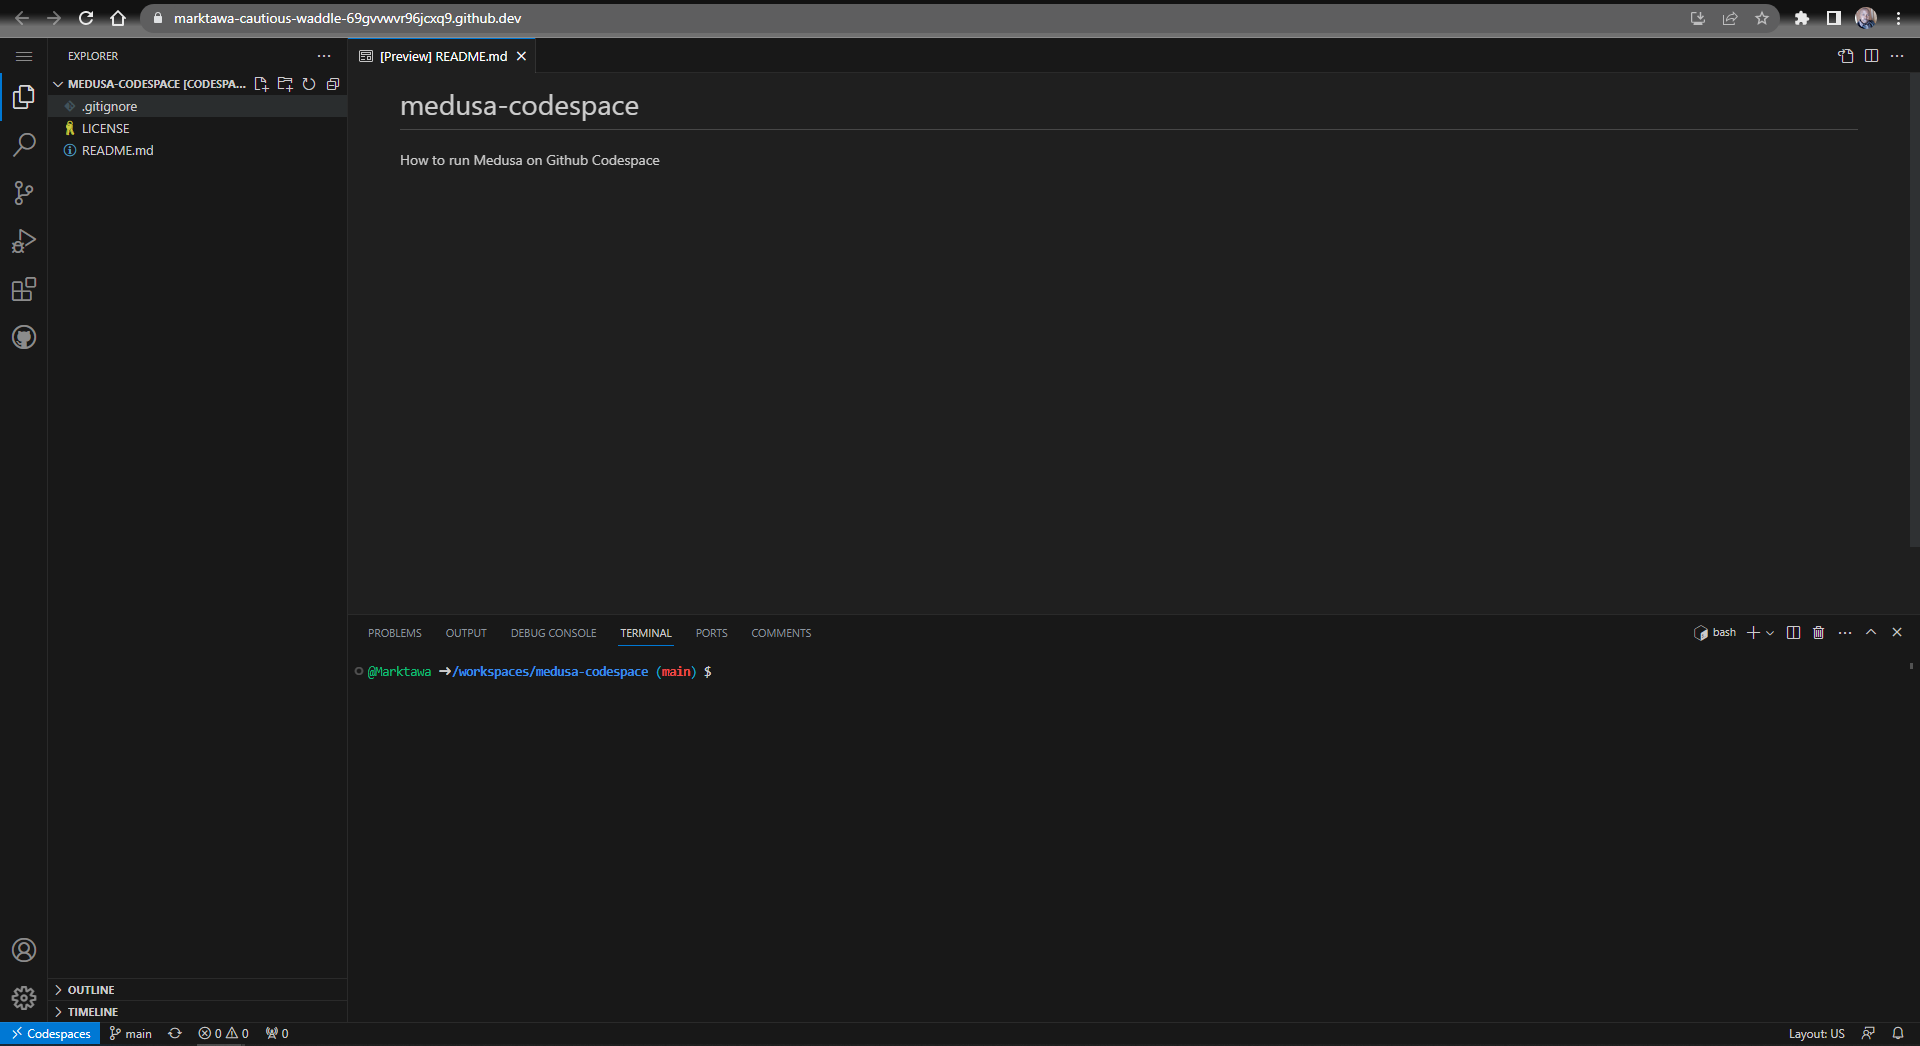
The VS Code Explorer will automatically list all the files in your medusa-codespace repo.
Step 2 - Setup Medusa
We will set up Medusa following the Install Medusa with create-medusa-app guide in Medusa's documentation.
In your Codespace's terminal window, run the following command:
yarn create medusa-app
After running this command you will be prompted for options for your Medusa project.
For this tutorial, we will use the default options provided by Medusa as follows:
Project Directory Name:
my-medusa-storeMedusa Backend Starter:
medusa-starter-defaultStorefront Starter:
Next.js Starter
After providing your responses the installation script will install the Medusa backend and the Next.js storefront in the project directory named my-medusa-store.
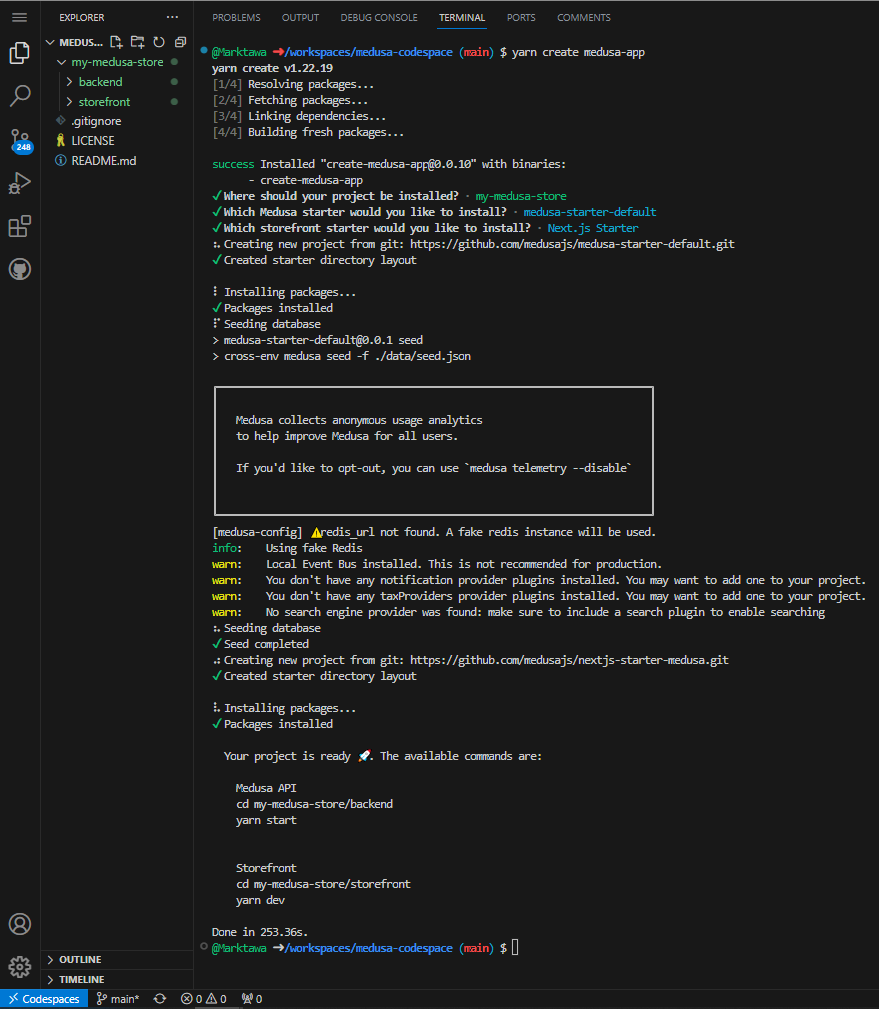
Next, run the Medusa API backend.
cd my-medusa-store/backend
yarn start
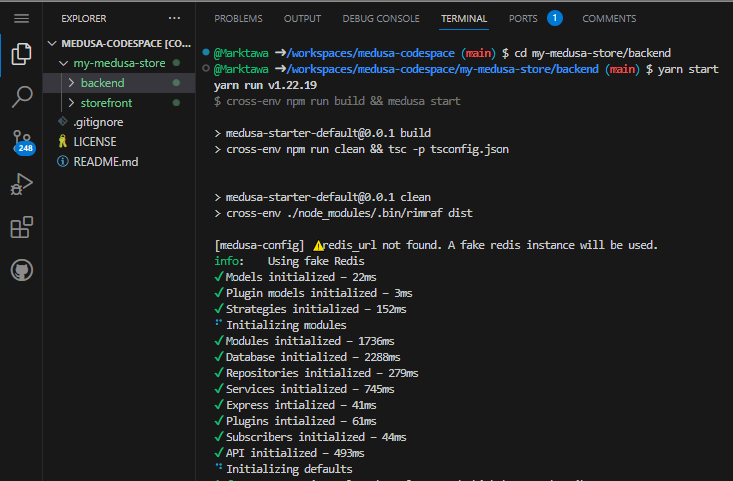
Your Medusa backend will start running on port 9000 of your codespace.
GitHub Codespace will automatically create a preview URL for you to access the Medusa API running on port 9000. Open the PORTS tab in your Codespace panel. The URL will be similar to this <your-codespace-url>-9000-preview.app.github.dev

Return to the TERMINAL tab in your Codespace panel. Open a new terminal tab and run the Next.js storefront.
cd ..
cd storefront
yarn dev
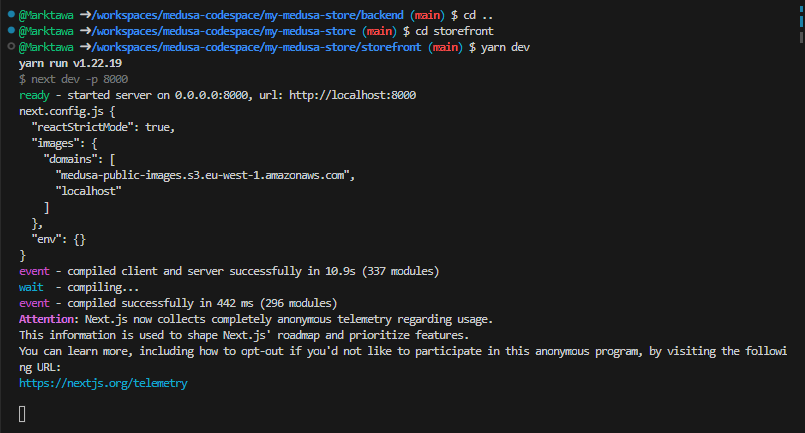
Your Next.js Storefront will start running on port 8000 of your codespace.
Like it was for the API, GitHub Codespace will also automatically create a preview URL for you to access the Medusa storefront.
Step 3 - Preview the Storefront
In the PORTS tab of your codespace panel, click on the preview link for the Next.js storefront. The preview URL should be similar to <your-codespace-url>-8000-preview.app.github.dev. A new tab will open and render the front page of your storefront.
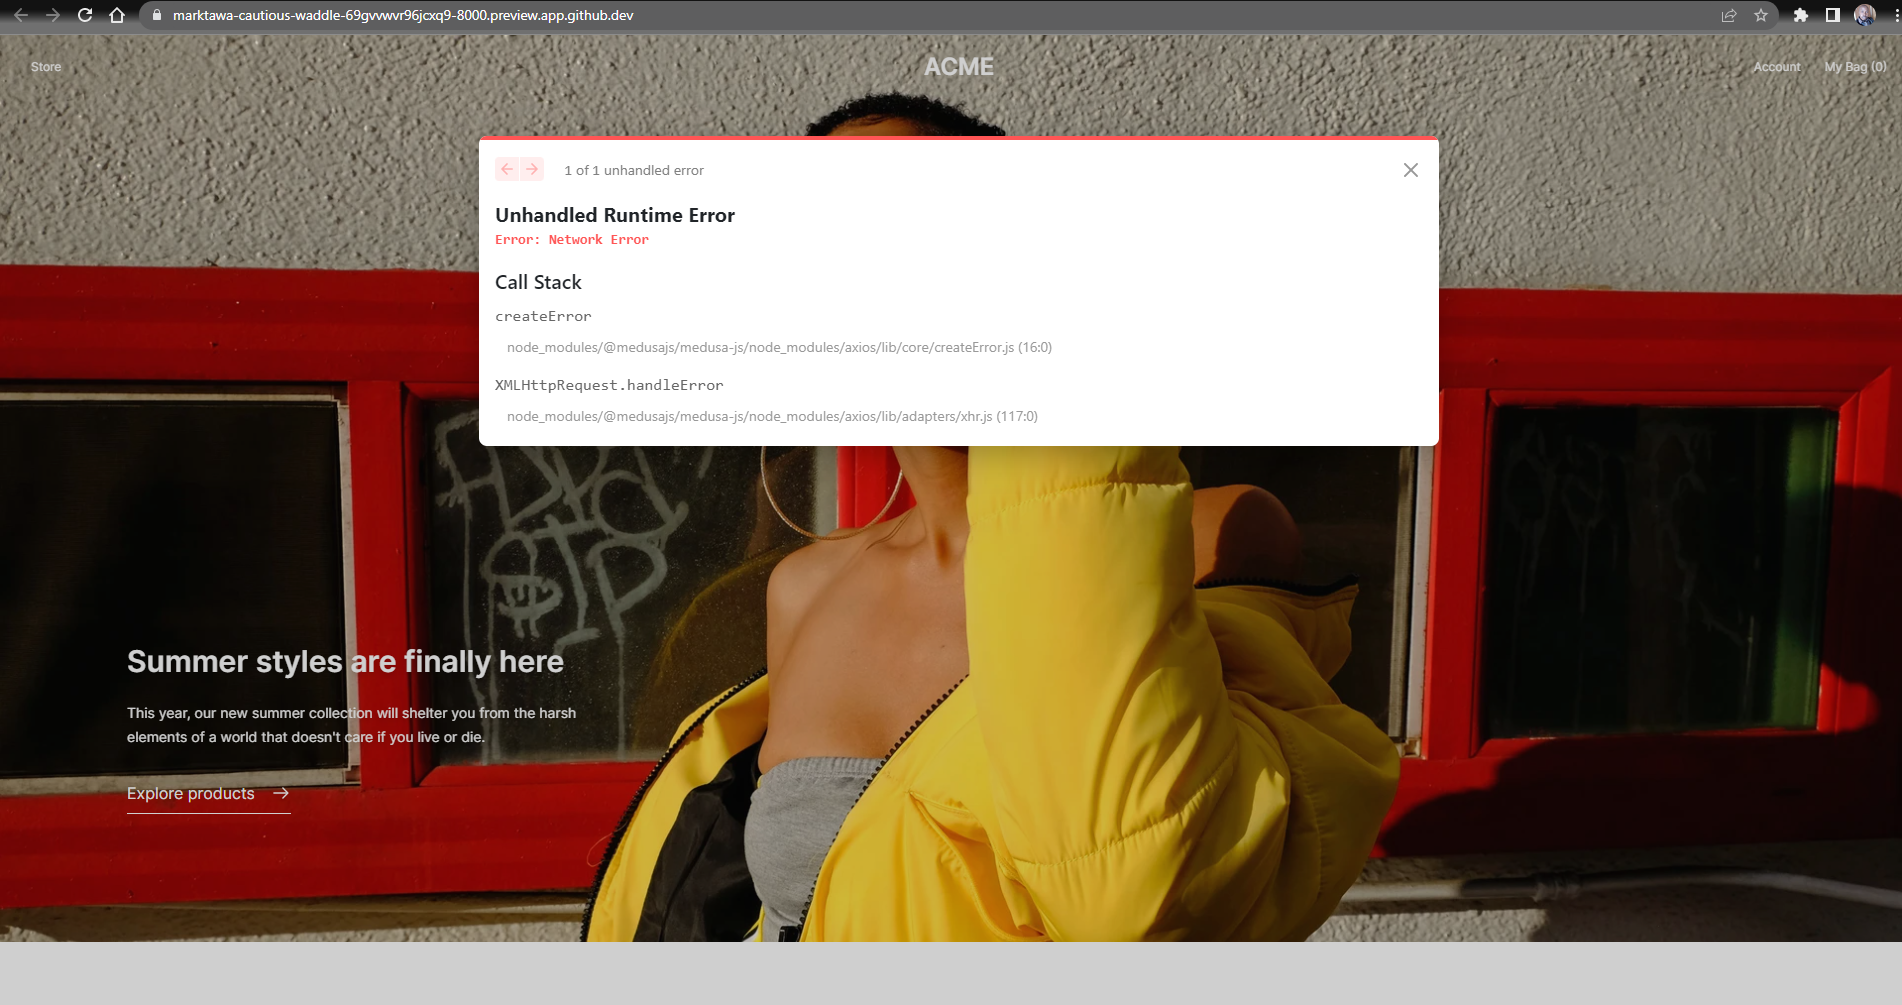
The front page appears but notice that a modal appears notifying you of an Unhandled Runtime Error specifically a Network Error. For some reason, your Next.js storefront is unable to access the Medusa API. If you Inspect Element and check the Network tab in your browser's dev tools you will notice the error.
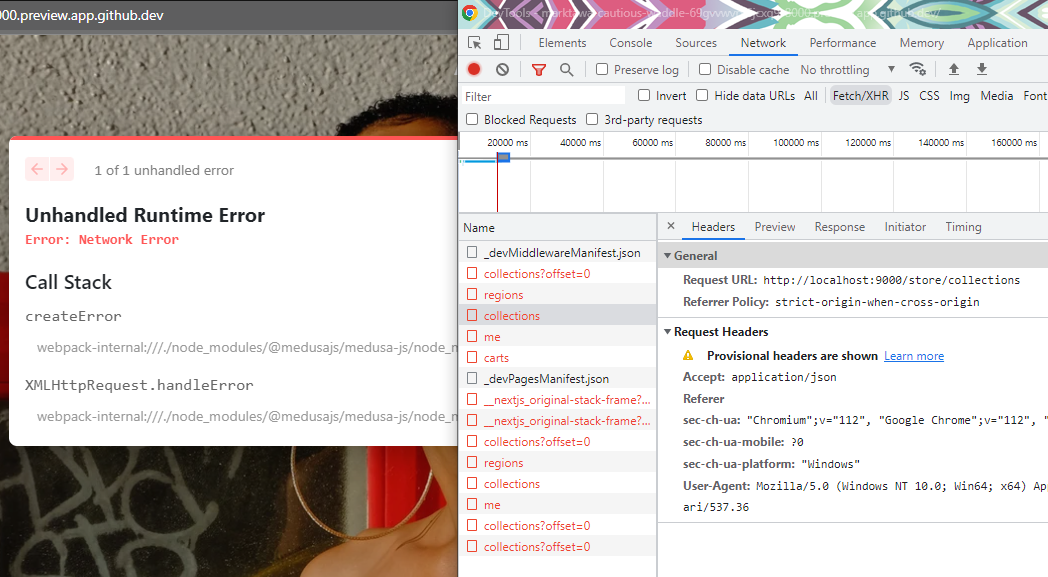
The storefront is making a request to http://localhost:9000/store/collections when fetching data from the Medusa API. The Medusa API uses a strict-origin-when-cross-origin policy for CORS. The GitHub Codespace redirects the links for the ports for preview. This does not match with Medusa's CORS configuration which requires one strict origin. To address this issue we need to give the Medusa API one unique URL which doesn't go through redirects. ngrok is the perfect tool for this.
Step 4 - Setup unique URL for Medusa API
Return to your codespace and open the TERMINAL tab in your codespace panel. Open a new terminal tab and go to the root of your workspace, i.e., the medusa-codespace folder.
cd ../..
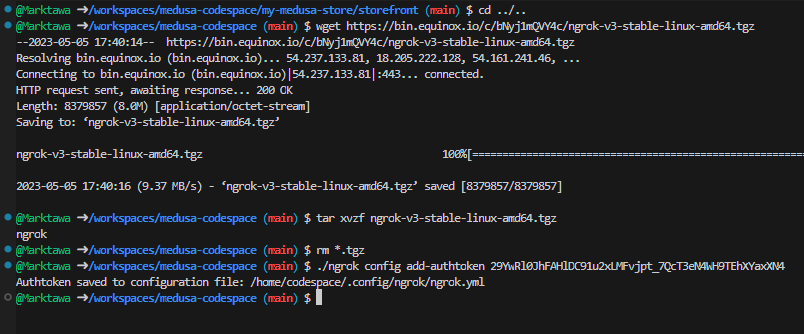
Download and install ngrok.
wget https://bin.equinox.io/c/bNyj1mQVY4c/ngrok-v3-stable-linux-amd64.tgz
tar xvzf ngrok-v3-stable-linux-amd64.tgz
rm *.tgz
This installs ngrok in the root of your workspace.
Add your ngrok account auth-token. Copy it at the Your Authtoken - ngrok page.
./ngrok config add-authtoken <Authtoken>
NOTE:
You must have a ngrok account. Sign up for one here.
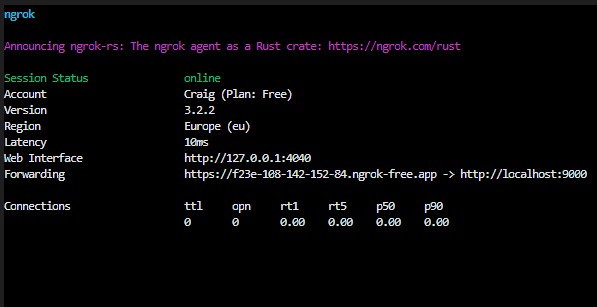
Start ngrok and let it listen on port 9000, the port for Medusa's API
./ngrok http 9000
ngrok will forward http://localhost:9000 to a unique URL in the form https://<XXXXXXXXX>.ngrok-free.app where <XXXXXXX> is some unique string.
Step 5 - Test Storefront with new API URL
Copy your unique ngrok URL. Create a new .env file in my-medusa-store/storefront and enter the following:
# Medusa Backend URL
NEXT_PUBLIC_MEDUSA_BACKEND_URL=<your-unique-ngrok-url>
Replace <your-unique-ngrok-url> with your ngrok URL. The Next.js storefront will now use this URL to query the Medusa backend.
Configure the backend to accept requests from ngrok. Open up the .env file in my-medusa-store/backend and add the following line STORE_CORS=/ngrok-free\.app$/ at the end of the .env file.
JWT_SECRET=something
COOKIE_SECRET=something

DATABASE_TYPE=sqlite
DATABASE_URL="postgres://localhost/medusa-store"
REDIS_URL=redis://localhost:6379
STORE_CORS=/ngrok-free\.app$/
For more information and a detailed explanation check out the Storefront CORS configuration page in Medusa's documentation
With that done, your storefront should be ready to test.
Return to the tab with the preview of your storefront and refresh the page. Everything should work as expected and no error should pop up.
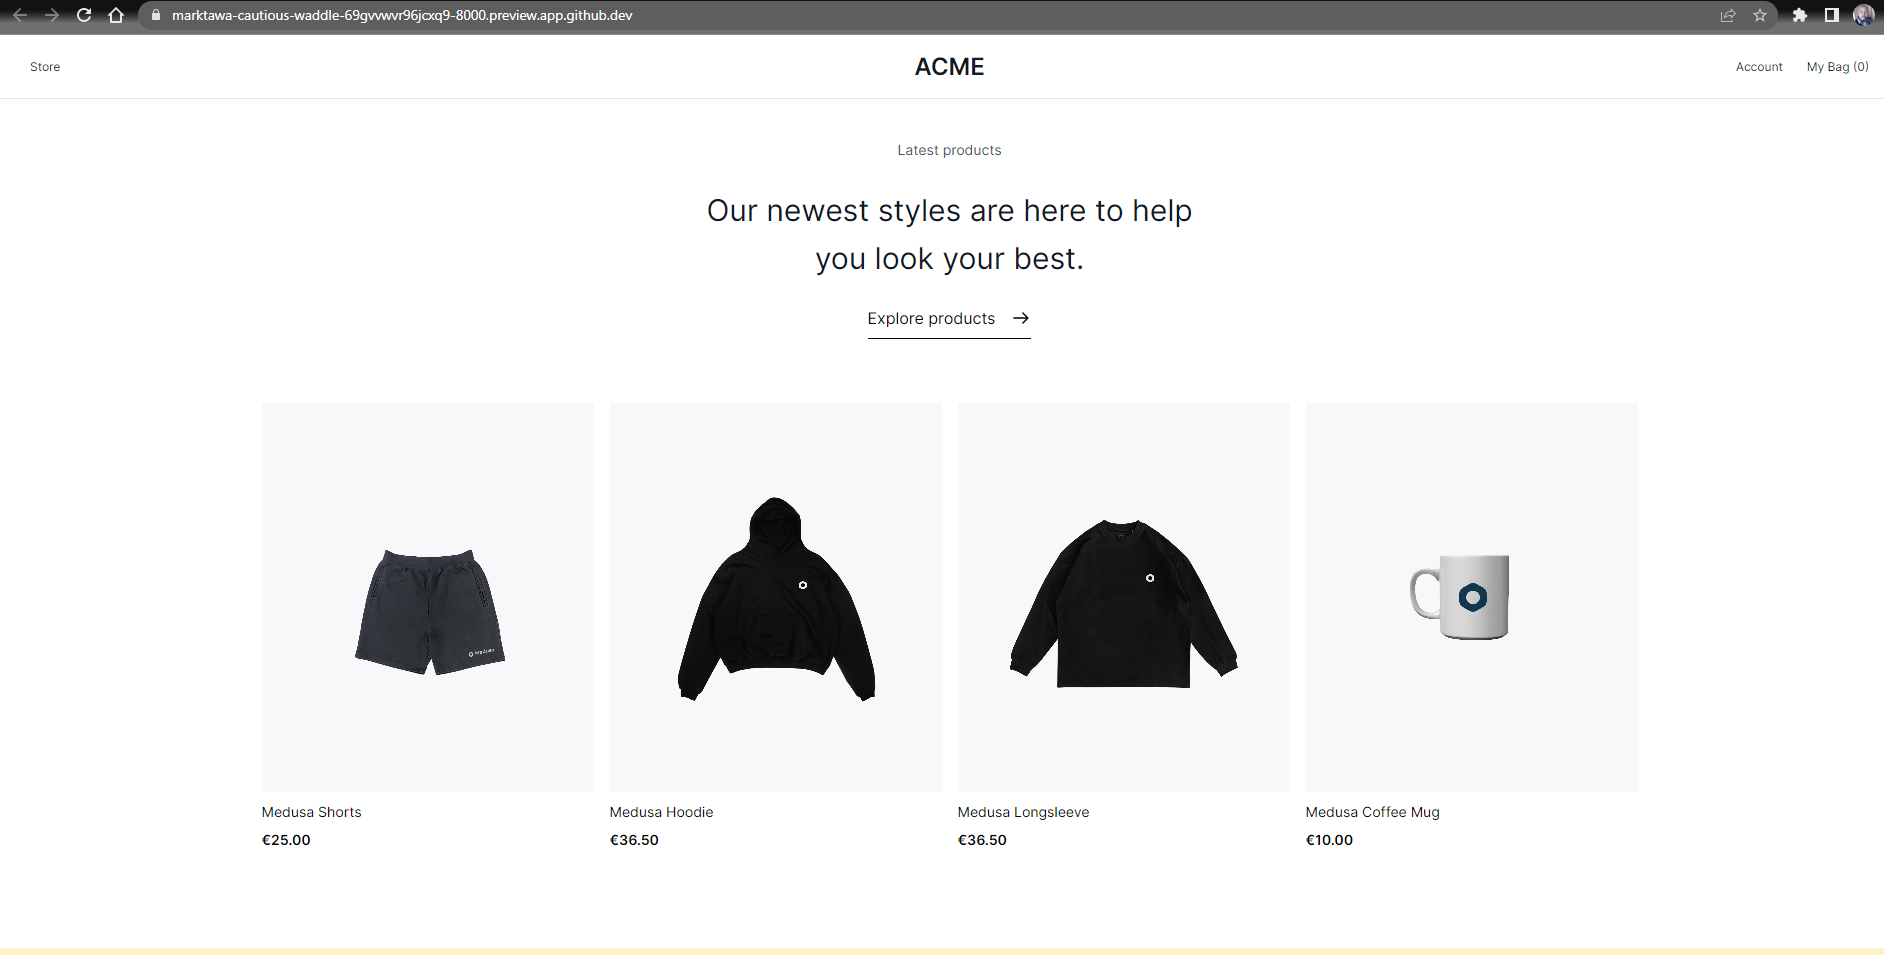
The difference now is that the products load and there is no network error. With that done, you have successfully run and tested your storefront.
You can proceed to experiment more with your Medusa-powered commerce store using the GitHub Codespace.
No more CORS issues to worry about. Bear in mind that this setup is only useful in a development environment. For a production environment please follow the recommended guidelines as outlined in the Medusa documentation.
Conclusion
In conclusion, this tutorial provides a comprehensive guide on how to set up and run Medusa using GitHub Codespaces. The tutorial covers setting up a development environment for Medusa with a backend and storefront in a GitHub Codespace. Configuring the dev environment, and bypassing the CORS issue using ngrok.
GitHub Codespaces provides developers with an instant dev box for building applications from anywhere with an internet connection. Medusa, on the other hand, allows developers to build e-commerce applications using modular commerce packages without having to start from scratch.
By following the steps provided in this tutorial, developers can easily set up a remote development environment for building and testing Medusa applications with ease.

