Build An Ecommerce Store from Scratch using Medusa and Nuxt: Part 01
Part 01: Setup and Installation


Introduction
Nuxt is a meta-framework built on top of Vue.js, a JavaScript library. It features SSR, SSG, SEO, File-System routing, Caching etc. It can be used to build ecommerce storefronts.
Medusa is a toolkit for developers to create digital commerce applications. It uses a Node.js backend with the core API, plugins, and modules installed through npm.
In this project, you will learn how an ecommerce store can be built using Nuxt for the frontend and Medusa for the backend. To do that, first, you will create a Nuxt project and set up a few components, pages, and layouts. Then, you will link the Nuxt project with a Medusa server to get the store products and display them on the home page including a product's page, and a product detail page.
This tutorial is split into a series of articles:
Part 02:
Part 03:
Part 04:
This tutorial is Part 01 of the series. It focuses on the set up and installation of the project.
Prerequisites
To follow along with the tutorial you need to have some knowledge of the following:
Basic understanding of HTML, CSS, and JavaScript
Basic understanding of Node.js and npm
Basic understanding of the command line
Knowledge of Vue and Nuxt is a bonus but not a requirement.
Knowledge of Medusa is a bonus but not a requirement.
In addition to knowing these tools, your computer system should have the following packages installed:
Node.js (v16 and above)
PostgreSQL. Alternatively, you can create a free PostgreSQL database with a Neon account. This tutorial will use a database created using Neon.
yarn (optional)
git (optional)
Install and setup the Medusa Backend
In this step, you will install and set up the Medusa Server backend.
Open up your terminal and create a project folder to contain all the source code for the entire project. Name it my-store.
mkdir my-store
Set up PostgreSQL on Neon
If you have PostgreSQL installed locally, you can skip this step.
Visit the Neon - Sign Up page and create a new account.
Create a new project in the Neon console. Give your project a name like mystore and your database a name like mystoredb then click Create project.
Take note of your connection string which will look something like: postgresql://dominggobana:JyyuEdr809p@df-hidden-bonus-ertd7sio.us-east-3.aws.neon.tech/mystoredb?sslmode=require. It is in the form postgres://[user]:[password]@[host]/[dbname].You will provide a connection string as a database URL to your Medusa server.
Install Medusa CLI
In your terminal, inside the my-store folder run the following command to install the Medusa CLI. We will use it to install the Medusa server.
npm install @medusajs/medusa-cli -g
Create a new Medusa project
medusa new my-medusa-store
You will be asked to specify your PostgreSQL database credentials. Choose "Skip database setup".
A new directory named my-medusa-store will be created to store the server files
Configure Database - Neon Users
If you have PostgreSQL installed locally, you can skip this step.
Add the connection string as the DATABASE_URL to your environment variables. Inside my-medusa-store create a .env file and add the following:
DATABASE_URL=postgresql://dominggobana:JyyuEdr809p@df-hidden-bonus-ertd7sio.us-east-3.aws.neon.tech/mystoredb?sslmode=require
Configure Database - Local PostgreSQL DB
If you have PostgreSQL configured on Neon, you can skip this step.
Access the PostgreSQL console to create a new user and database for the Medusa server.
sudo -u postgres psql
To create a new user named medusa_admin run this command:
CREATE USER medusa_admin WITH PASSWORD 'medusa_admin_password';
Now, create a new database named medusa_db and make medusa_admin the owner.
CREATE DATABASE medusa_db OWNER medusa_admin;
Last, grant all privileges to medusa_admin and exit the PostgreSQL console.
GRANT ALL PRIVILEGES ON DATABASE medusa_db TO medusa_admin;
exit
Add the connection string as the DATABASE_URL to your environment variables. Inside my-medusa-store create a .env file and add the following:
DATABASE_URL=postgres://medusa_admin:medusa_admin_password@localhost:5432/medusa_db
Seed Database
Run migrations and seed data to the database by running the following command:
medusa seed --seed-file="./data/seed.json"
Start your Medusa backend
medusa develop
The Medusa server will start running on port 9000.
Test your server:
curl localhost:9000/store/products
If it is working, you should see a list of products.
Install and Serve Medusa Admin with the Backend
This section explains how to install the admin to be served with the Medusa Backend.
Install the package
Inside my-medusa-store stop your Medusa server, CTRL + C, and run the following command to install the Medusa Admin Dashboard.
npm install @medusajs/admin
Test your install by re-running your server.
medusa develop
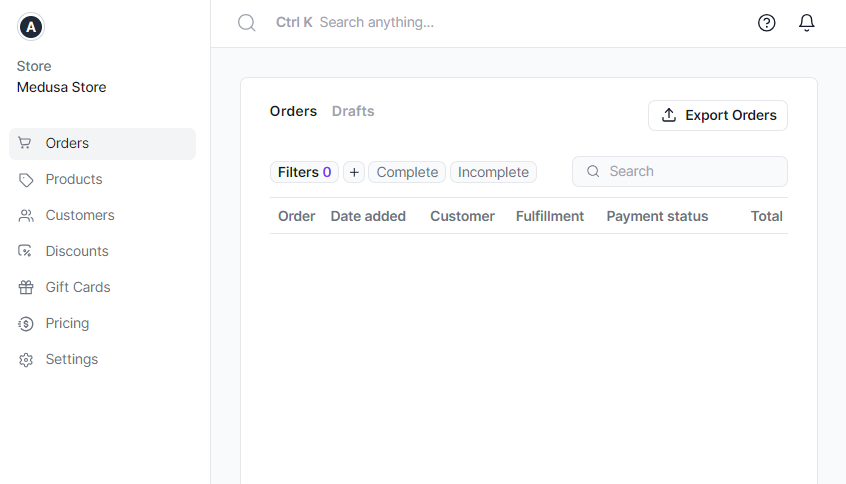
Open up your browser and visit localhost:7001 to see the Medusa Admin Dashboard. Use the Email admin@medusa-test.com and password supersecret to log in.
Install and setup the Nuxt.js storefront
Install a Nuxt.js project
To install a Nuxt project, you can get started quickly with create-nuxt-app. Open your terminal and run the following command:
npx create-nuxt-app my-nuxt-storefront
Configure your Nuxt project as follows:
Project name: my-nuxt-storefront
Programming language: JavaScript
Package manager: Yarn
UI framework: Windi CSS
Template engine: HTML
Nuxt.js modules: Axios - Promise based HTTP client
Linting tools: ESLint
Testing framework: None
Rendering mode: Single Page App
Deployment target: Static (Static/Jamstack hosting)
Development tools:
Continuous integration: None
Version control system: Git
Run Nuxt.js project
Once the Nuxt.js project is created, change to the directory of the storefront and start the dev server:
cd my-nuxt-storefront
yarn dev
This command will run the storefront app by default at http://localhost:3000. To test it, open your browser and go to http://localhost:3000. You will get something like this:
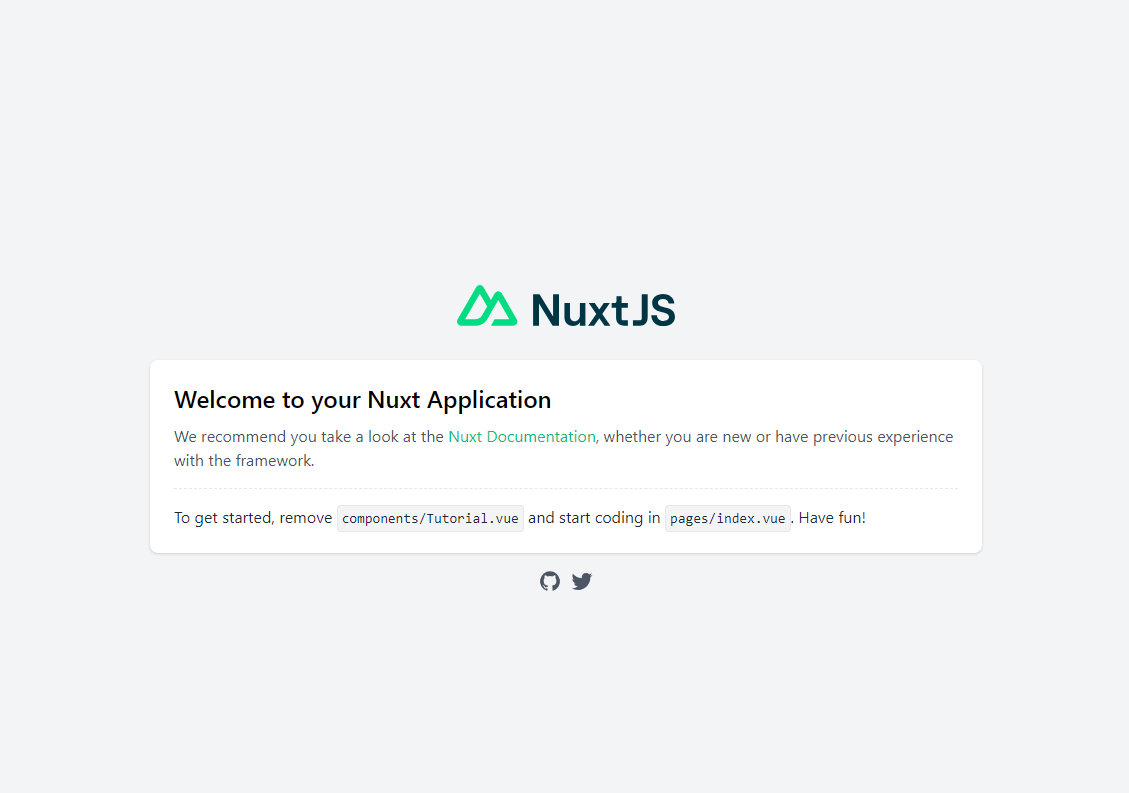
Later on, you will change the default port to learn how to integrate your frontend with the Medusa server in a port that is not the default.
That's it for now!
Conclusion
In conclusion, this tutorial has covered how to set up a basic ecommerce store using Nuxt.js for the frontend and Medusa for the backend. You started by installing and configuring a Medusa backend server with a PostgreSQL database. You then installed the Medusa admin dashboard to manage products, orders, and other ecommerce functionality. Next, you created a new Nuxt.js project for the frontend storefront. Finally, you ran both the Medusa server and Nuxt development servers to test out the initial setup. In the next steps, you will integrate the Nuxt frontend with the Medusa backend, fetching product data and displaying it in pages and components to build out the complete ecommerce functionality. This tutorial provides the groundwork for building a fully-fledged ecommerce application using the powerful Nuxt and Medusa frameworks.
Resources
Author
GitHub: @Marktawa Twitter: @McMunyaka
Sponsor
Support my passion for sharing development knowledge by making a donation to my Buy Me a Coffee account. Your contribution helps me create valuable content and resources. Thank you for your support!