Build a blog from scratch using Strapi and Sveltekit
Part 01: Setup and Installation


Introduction
In this tutorial, you will learn how to create a blog website using Strapi as a CMS and Sveltekit as the frontend framework.
This tutorial is split into a series of articles:
Part 02:
Part 03:
Part 04:
This tutorial is Part 01 of the series. It focuses on the set up and installation of the project.
Prerequisites
To follow along with this tutorial, you must have some knowledge of HTML, CSS, and JavaScript. Knowledge of Strapi and Sveltekit/Svelte is helpful but not necessary.
In addition, you need the following tools installed on your machine:
Node.js: the latest LTS version
yarn
Strapi Setup
Strapi will act as the CMS for the blog app we are building. To get started, open up your terminal and create a folder to store all the code for the project.
mkdir sveltekit-strapi-blog
cd sveltekit-strapi-blog
Inside the sveltekit-strapi-blog folder, scaffold a Strapi app:
npx create-strapi-app@latest backend --quickstart --no-run
After installing the Strapi app, create a new admin user for your Strapi app. The email is chef@email.io and the password is Gourmet1234. You can change them if you want.
cd backend
yarn strapi admin:create-user --firstname=Kai --lastname=Doe --email=chef@email.io --password=Gourmet1234
Start your Strapi app.
yarn develop
Visit localhost:1337/admin in your browser to login and view your dashboard.

For now, that's it. Next, let's set up Sveltekit.
Sveltekit Setup
Open up a new terminal session and open up the main project folder, sveltekit-strapi-blog.
Install Sveltekit with the following command:
npm create svelte@latest frontend
Start the Sveltekit development server.
cd frontend
npm install
npm run dev
Visit localhost:5173 in your browser to view the Sveltekit default home page.
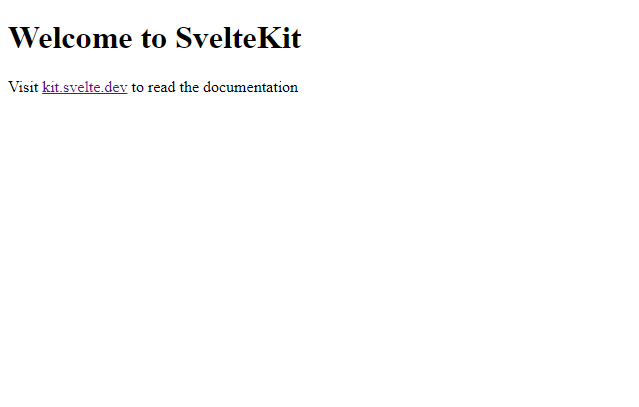
That's it for the Sveltekit set up as well.
Conclusion
In this tutorial, we have successfully set up the foundation for our blog website using Strapi as the CMS and Sveltekit as the frontend framework. We have learned how to create a Strapi app, configured an admin user, and started the Strapi development server. We have also installed Sveltekit, started the development server, and verified that both Strapi and Sveltekit are running smoothly.
Stay tuned for the upcoming parts of the tutorial series, where we will dive deeper into the development process and gradually build a fully functional blog website using Strapi and Sveltekit.
Author
GitHub: @Marktawa Twitter: @McMunyaka
Sponsor
Support my passion for sharing development knowledge by making a donation to my Buy Me a Coffee account. Your contribution helps me create valuable content and resources. Thank you for your support!